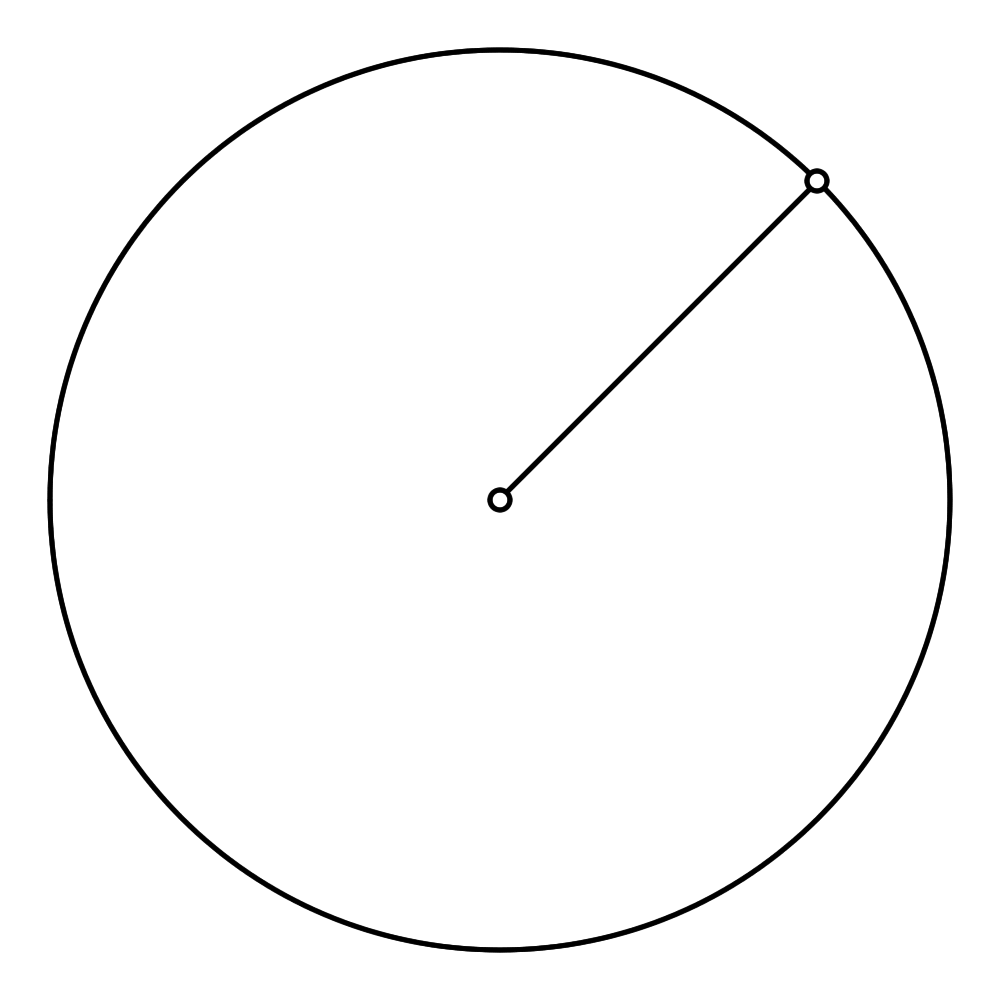
Consider a simple arm that rotates around an axis, a single-axis manipulator. This robot can only reach the 360 degree circle around the axis whose radius is the length of the arm itself. There is exactly one joint angle solution for every reachable position.

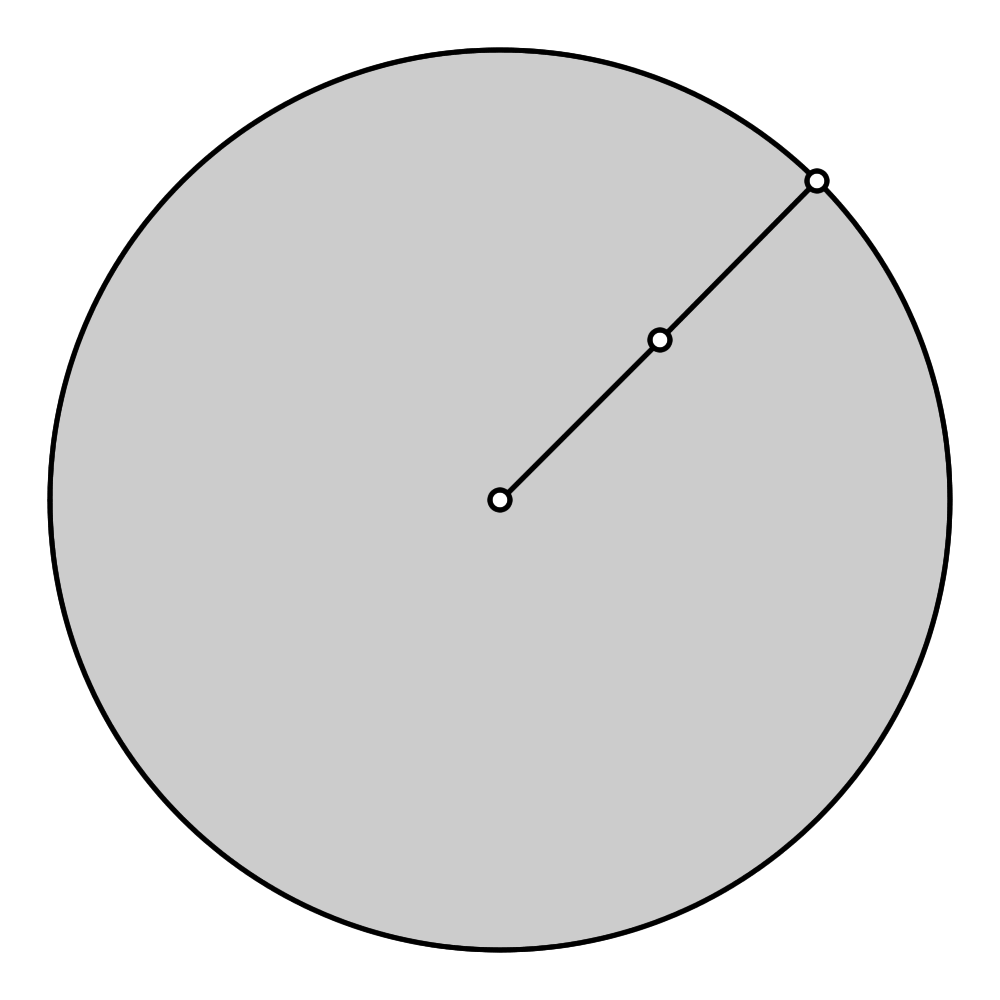
Split the arm into two segments with an additional axis between them. You can still reach the original circle, but you’ve also given your manipulator the ability to address the area within.

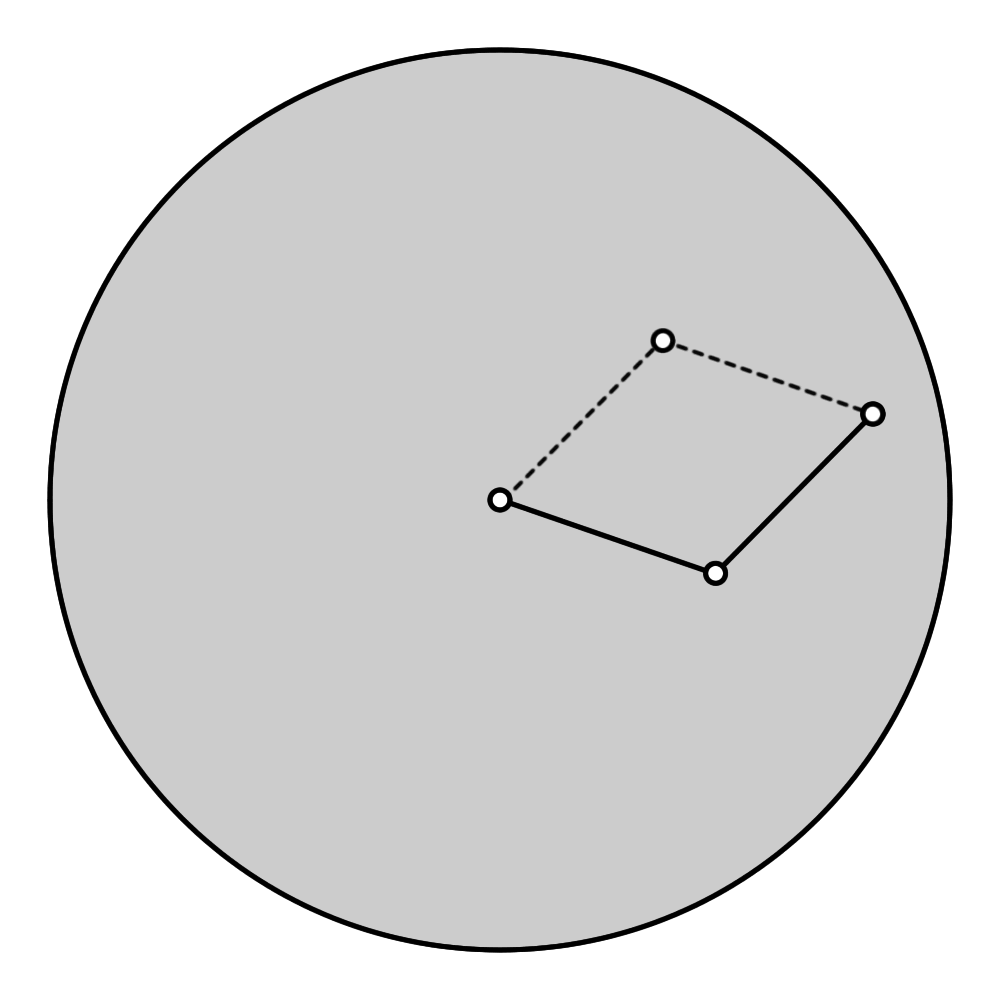
Now consider some point between the origin and the extent of the circle. Right away, we see that there are now two joint configurations that allow the robot to reach this point.

Depending on the original position and the final destination, one of these solutions may be better than the other. External factors such as obstacles, cable management, etc. may also play a role in determining the optimal solution. The fact that there may be multiple solutions to the same problem makes the robot-programmer’s job more difficult but also more interesting.
With just two axes to control, you already have to make a decision between two solutions for every position in your program. Imagine how many possibilities you have to choose from with a six-axis robot. Getting dizzy yet? It’s easy to get a six-axis robot all wound up if you’re not careful, especially when it has generous joint limits. While these positions may get the job done, it’s best to keep the robot’s happiness in mind and work a little harder to find a more comfortable way to accomplish the same task.
Configuration Strings
Ever notice those funny NUT or FUT things within your FANUC robot’s positions or position registers? Those tell the robot which solution to use to reach the same position and orientation. We didn’t discuss orientation previously, and with a two-axis robot, there would be only one solution if we included orientation in the requirement. However, with a six-axis robot, there are often multiple solutions that reach both the required position AND orientation.
Flip vs. No-Flip
Let’s take your standard R-2000iB/165F, a big six-axis robot and drive it to this position:
   X:  1500.000mm    Y:     0.000mm    Z:   360.000mm
   W:   135.000deg   P:   -45.000deg   R:     0.000deg
For the configuration “NUT 000”, the joint angles are:
  J1:     7.962deg  J2:    -5.284deg  J3:   -36.250deg
  J4:    77.661deg  J5:   -51.975deg  J6:   -79.273deg
Let’s try and change the configuration to “FUT 000”. (By the way, the F and N stand for Flip and No-Flip, respectively.) The joint angles are now:
  J1:     7.962deg  J2:    -5.284deg  J3:   -36.250deg
  J4:  -102.339deg  J5:    51.975deg  J6:   100.727deg
What changed? We “flipped” the sign on J5, which required J4 and J6 to move by -180 and +180 degrees respectively to achieve the same position and orientation.
Let’s quickly ask ourselves which is the better orientation? Without knowing anything about where we came from, where we are going, or any external limitations, let’s just consider axis limits. The R-2000iB/165F has limits of +/- 360deg, +/- 125deg and +/- 360deg on J4, J5 and J6 respectively. J5 has consumed the same amount of its usable rotation, just in the other direction, but we see that both J4 and J6 are now ~20deg closer to their limits than they were previously. They still have plenty of room, but you can see where other positions could put these axes dangerously close to their limits.
Up vs. Down
Let’s try a new position with “NUT 000”:
   X:  1914.130mm    Y:     0.000mm    Z:  1908.514mm
   W:     0.000deg   P:   -64.179deg   R:   180.000deg
The joint values are:
  J1:    0.000deg   J2:    16.476deg  J3:   25.821deg
  J4:    0.000deg   J5:     0.000deg  J6:    0.000deg
What happens if we change the configuration string to “NDT 000” (U and D stand for Up and Down, respectively.)
  J1:    0.000deg   J2:    57.912deg  J3:   59.851deg
  J4:    0.000deg   J5:   -34.030deg  J6:    0.000deg
The change to the joint angles isn’t as easy to understand, but you can see that J2 and J3 have both increased. When J2 is increased, think of bending at your waist. When J3 is increased, think of arching your spine backwards. Keeping your head in the same position, the arch in your mid-back is now “Down” or concave where before it would be “Up” or convex. In either case, your neck will also have to compensate for the shift to maintain position and orientation just like the robot’s ~34deg change in J5.
Front vs. Back
I’m going to skip this one for now since it only seem to factor in when the robot is on an RTU (additional axis). (Let me know if I’m wrong.)
Turn Counts
What about those numbers at the end? When an axis has more than +/- 180deg, we need a way to tell the robot part of its joint-space to use when moving to a cartestian position. For any given joint, turn count 0 will be the angles between +/- 180 degrees. Turn count 1 would be 180 to 540, 2 for 540 to 900, etc. while Turn count -1 would be for -180 to -540, -2 for -540 to -900, etc.
The first number is for J1, the second for J4 and the third for J6. Our R-2000iB/165F will only see 0 for the first number, but since the axis limits on J4 and J6 are +/- 360, we can see both -1 and 1 turn counts. Let’s look at an example. At the robot’s zero, the joint angles are:
  J1:    0.000deg   J2:     0.000deg  J3:    0.000deg
  J4:    0.000deg   J5:     0.000deg  J6:    0.000deg
This translates to the following cartesian position with the UTOOL at the robot faceplate with configuration NUT 000.
   X:  1862.000mm    Y:     0.000mm    Z:  1300.000mm
   W:   180.000deg   P:   -90.000deg   R:     0.000deg
The R-2000iB/165F could not reach this position with configuration NUT 100, but if we expanded the J1 joint limits, we could. The joint positions would then be:
  J1:  360.000deg   J2:     0.000deg  J3:    0.000deg
  J4:    0.000deg   J5:     0.000deg  J6:    0.000deg
What about NUT 010? That puts us right at J4’s positive axis limit:
  J1:    0.000deg   J2:     0.000deg  J3:    0.000deg
  J4:  360.000deg   J5:     0.000deg  J6:    0.000deg
NUT 0-10? We’re now at the negative side of J4’s axis limit:
  J1:    0.000deg   J2:     0.000deg  J3:    0.000deg
  J4: -360.000deg   J5:     0.000deg  J6:    0.000deg
Guess what happens when we change the configuration string to NUT 001.
  J1:    0.000deg   J2:     0.000deg  J3:    0.000deg
  J4:    0.000deg   J5:     0.000deg  J6:  360.000deg
Hopefully you figured out that you can just add and subtract 360 degrees to get from one turn count to the next.
This all seems pretty useless when using a position like the robot’s zero position, but let’s go back to our original position:
   X:  1500.000mm    Y:     0.000mm    Z:   360.000mm
   W:   135.000deg   P:   -45.000deg   R:     0.000deg

  J1:     7.962deg  J2:    -5.284deg  J3:   -36.250deg
  J4:    77.661deg  J5:   -51.975deg  J6:   -79.273deg
You can quickly see that we could use a -1 turn count on J4 and a 1 turn count on J6 to reach this position in a different way. (1 and -1 would put J4 and J6 out of their axis limits, respectively.)
Takeaways
Now that you know what the configuration string and turn counts represent, you can be a little more wary of them while programming. If you see a position is very close to an axis limit, maybe try an alternate turn count and see if it works better. If you see the robot doing a very large rotation from one point to the next, maybe you’re just on the other side of a FUT vs. NUT relationship or simply need to specify an alternate turn count on J6.
Whatever the case, try to keep your robot happy and keep its joints neutral. You can save a lot of cycle time by rotating 10 degrees instead of 350.

